Live Streams
Live Streams can be included as part of your zone content.
You must provide a URL to the M3U8 livestream playlist file when adding a live stream to Exceed Cast. Live Streams are not captured or relayed through Exceed Cast servers.
Live Streams will show for as long as they are broadcast by default, blocking content that appears after them in the zone. If you want to stop showing a live stream before it ends, set an item runtime under item settings or delete the live stream entry from your playlist.
If a live stream cannot be shown due to a technical error on the player, the player will skip the item and continue with other content in the zone.
Requirements
- Live Streams must be in HLS H.264 M3U8 format
- The playlist and video segment files must be hosted on a server accessible from the playback device.
Known compatible sources
These are sources that have been tested by the community to work.
- MediaMTX
- Restreamer
- Owncast
- CamStreamer
Example source setups
Streaming from an Axis IP camera
You can install and use the CamStreamer ACAP application on a modern AXIS IP camera in order to generate an HLS compatible live stream without any additional hardware. CamStreamer is sold seperately and is not affliated with Exceed Cast.
First, follow the instructions from CamStreamer to install the ACAP application on the camera.
Once the application is installed, open the CamStreamer application on the camera. If this is the first stream added to the camera, you will be automatically taken to the add stream wizard on the camera.
From the list of streaming applications, choose HLS Pull, then click Continue.

You can then select your video and audio quality preferences, then click Save. Once saved, click Start to begin streaming from the camera.
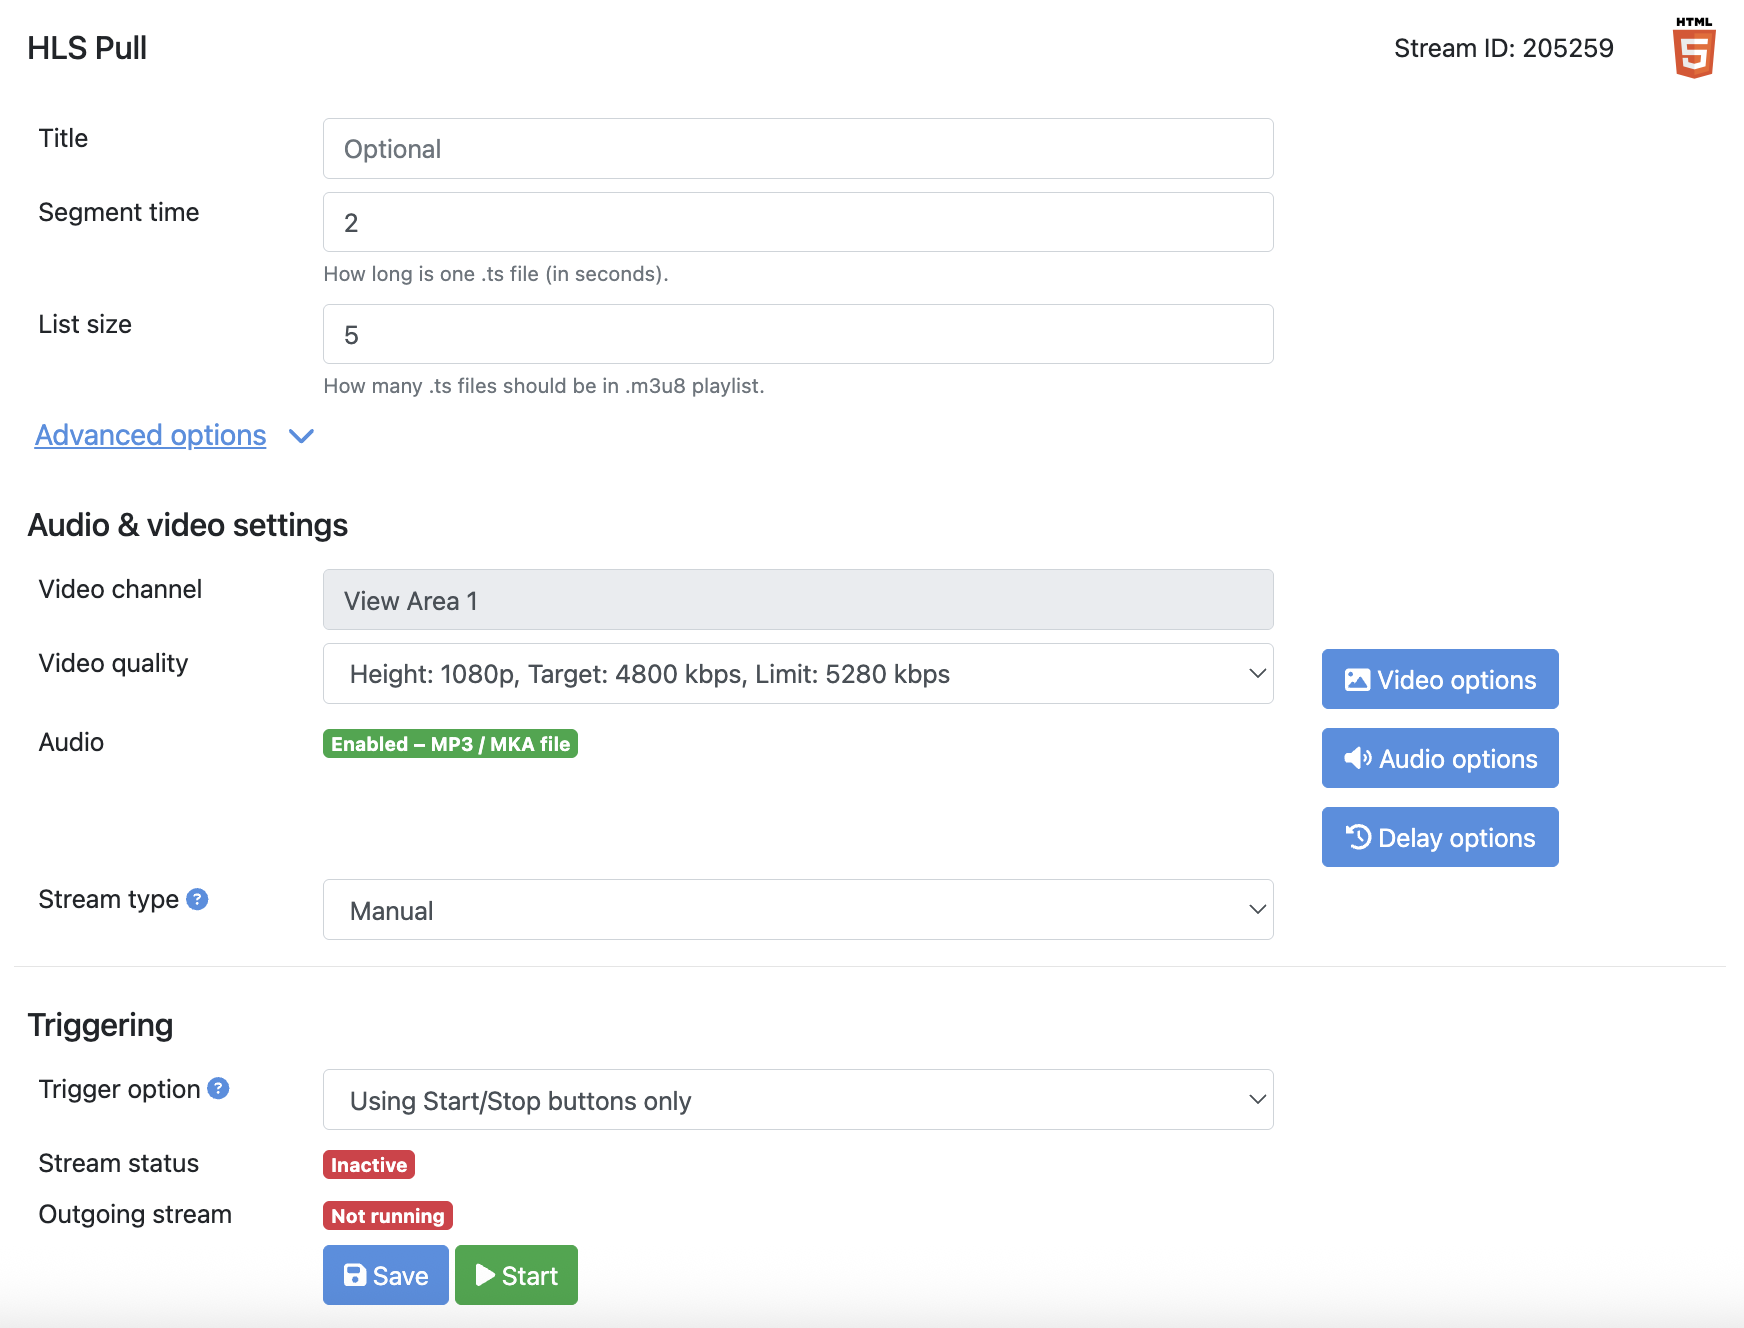
Under the save button, the HLS stream URL will be provided. This will be the URL you use when adding a Live Stream to Exceed Cast.

CamStreamer supports many more configuration options, such as turning on and off the stream via a physical switch, calendar, or even API controls. For more information about configuration options, see the CamStreamer app documentation.
Streaming from OBS+MediaMTX
OBS (Open Broadcaster Software) Studio is a free and open source software for creating live streams. It can run on most Windows, Mac, or Linux computers. It has become the de-facto standard for live streaming over the internet.
MediaMTX is a free and open source media streaming server software. It can run on most Windows, Mac, or Linux computers. It allows you to stream using a variety of sources to a variety of output formats including HLS.
Neither OBS nor MediaMTX is created by or affliated with Exceed Cast.
MediaMTX Server Setup
First, download the latest MediaMTX release, and extract it into a folder.
Next, save the below minimal configuration text into a file named mediamtx.yml and place it in the same folder.
logLevel: info
logDestinations: [stdout]

api: no
metrics: no
pprof: no
playback: no
rtsp: no
rtmp: yes
rtmpAddress: :1935
rtmpEncryption: "no"
hls: yes
hlsAddress: :8888
hlsEncryption: no
hlsAllowOrigin: '*'
hlsAlwaysRemux: yes
srt: no
webrtc: no

paths:
    obs_stream:
        source: publisher
Next, run the mediamtx executable from the folder and wait for the server to start.
OBS Studio Setup
Download and install OBS Studio if it isn't already installed on your computer.
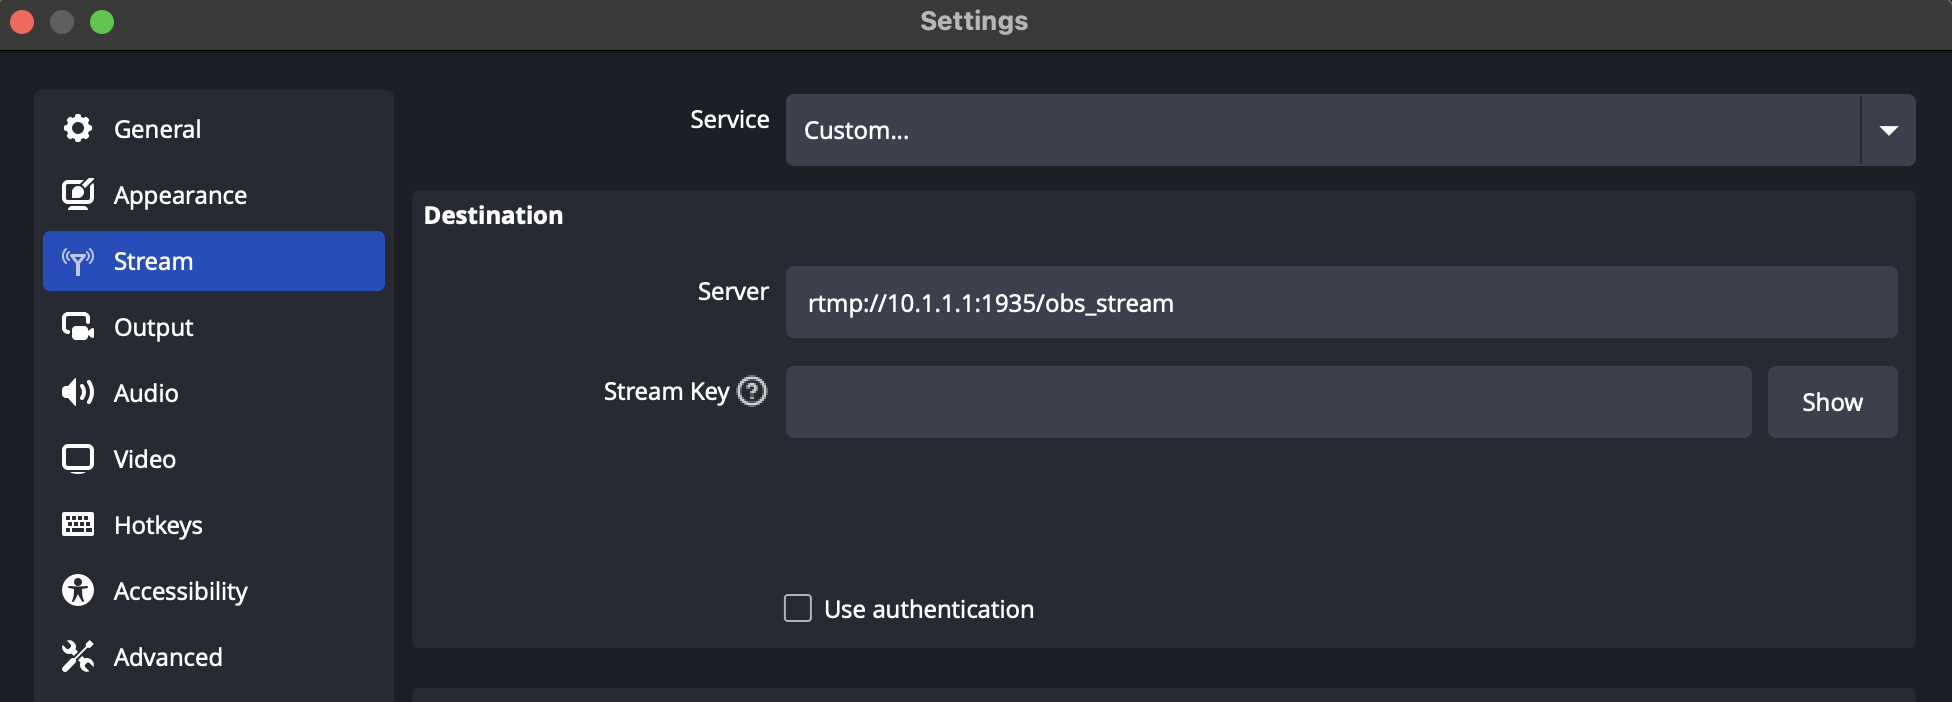
Open OBS Studio and click the Settings button.
Navigate to Stream on the left menu, then select Custom for the Service.
In the Server box, enter rtmp://<server ip>:1935/obs_stream.
Make sure the Stream Key box is empty, and Use authentication is unchecked, then click OK. Once back at the main OBS screen, click Start Streaming.
MediaMTX will ingest the stream, convert the metadata to HLS format, and rebroadcast it at
http://<server ip>:8888/obs_stream/index.m3u8
This rebroadcast URL can be added to Exceed Cast to use as a livestream source.
Please see the MediaMTX documentation for more information on other configuration options such as authentication and transcoding.