Manage Domains
You must verify ownership of your email domain name(s) before you can add additional users or configure Single Sign On. This helps protect from malicious users creating accounts for email addresses they don't control. You can verify as many domains as required for your organization's users.
Add the domain
Navigate to Organization -> Domains. Click Add domain, then enter the bare domain you wish to verify (e.g. example.com). Once you submit that form, you will be returned to the domains list.
Add verification record
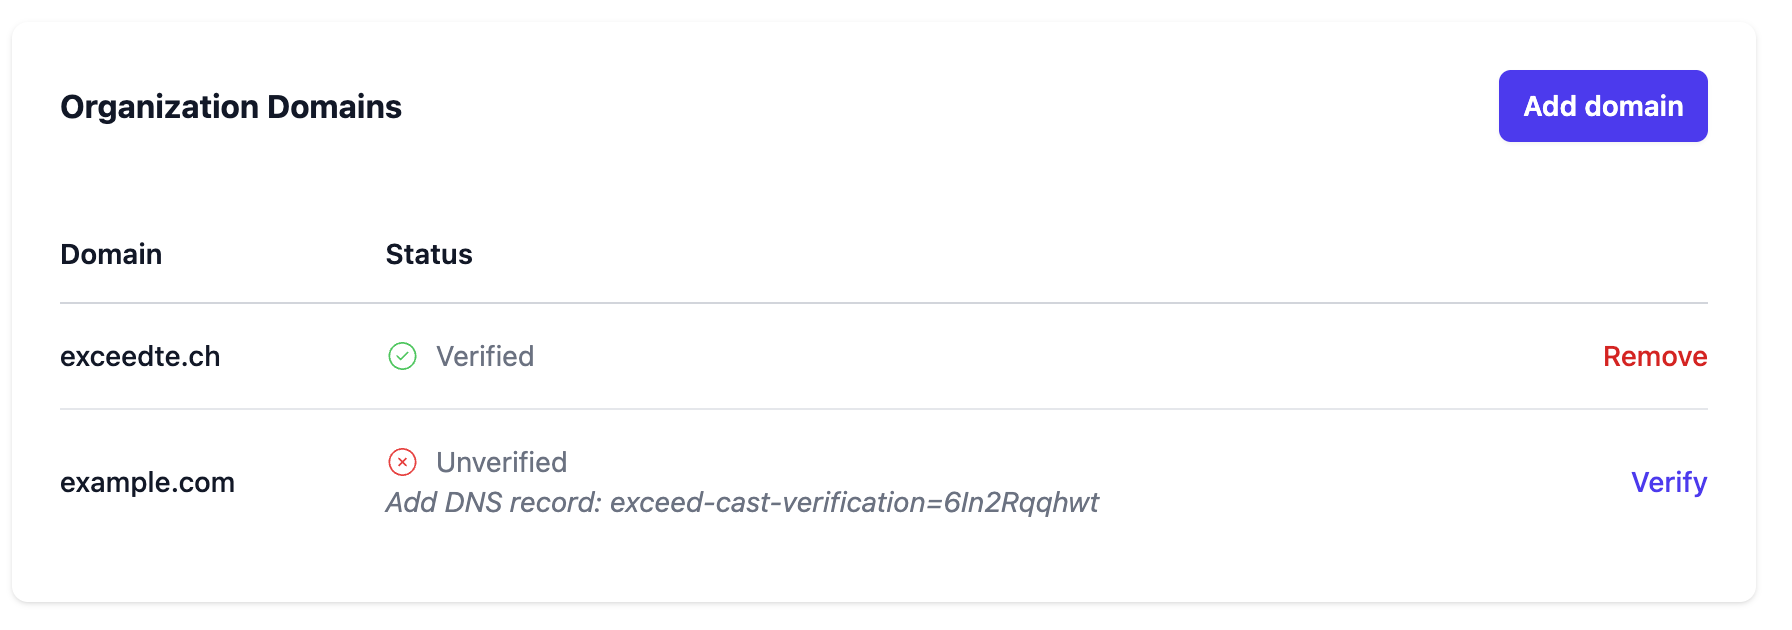
Under the Unverified status icon, information will be provided to prove ownership. You should log in to your DNS host's control panel or domain registrar and add a TXT record for the domain with that text.
As shown in the example above, you would need to add a TXT record for example.com with the contents "exceed-cast-verification=6In2Rqqhwt". You may already have a TXT record for SPF or other service verifications, this is fine. You can simply add another record, as you can have multiple TXT records for the same domain name.
Test if the record exists
You can test if the record exists using built-in tools on Windows or macOS.
Open a Command Prompt or Terminal window, and type the following commands:
nslookup
set type=txt
example.com
exit
You should replace example.com with your actual domain name. If you see the verification text in the output, your record was added correctly!
Verify domain
Once you have tested the record exists on your computer, you can click the Verify link next to the domain name to have Exceed Cast check the record. If Exceed Cast is able to confirm the record exists, the domain will change to Verified status and no further action is required.
If Exceed Cast is unable to verify the domain, try waiting a few hours then clicking again. DNS records may take up to 4 hours to take effect.