SSO with Okta
Okta is a tested integration and supports all SSO features that Exceed Cast offers.
☑ Single Sign On is supported using the SAML 2.0 protocol.
Setup Steps
Start in Exceed Cast
First, navigate to Organization then SSO Providers in Exceed Cast. Click Add provider.
Select SAML via metadata URL (recommended) from the available type options and click Continue.
Leave this page open while you configure the next steps in Okta. Information on this page will be needed by Okta to complete the integration.
Create app integration in Okta
First, navigate to your Okta Admin Portal and then to the Applications section.
Click Create App Integration and select SAML 2.0 on the popup window that appears. Click Next to continue.
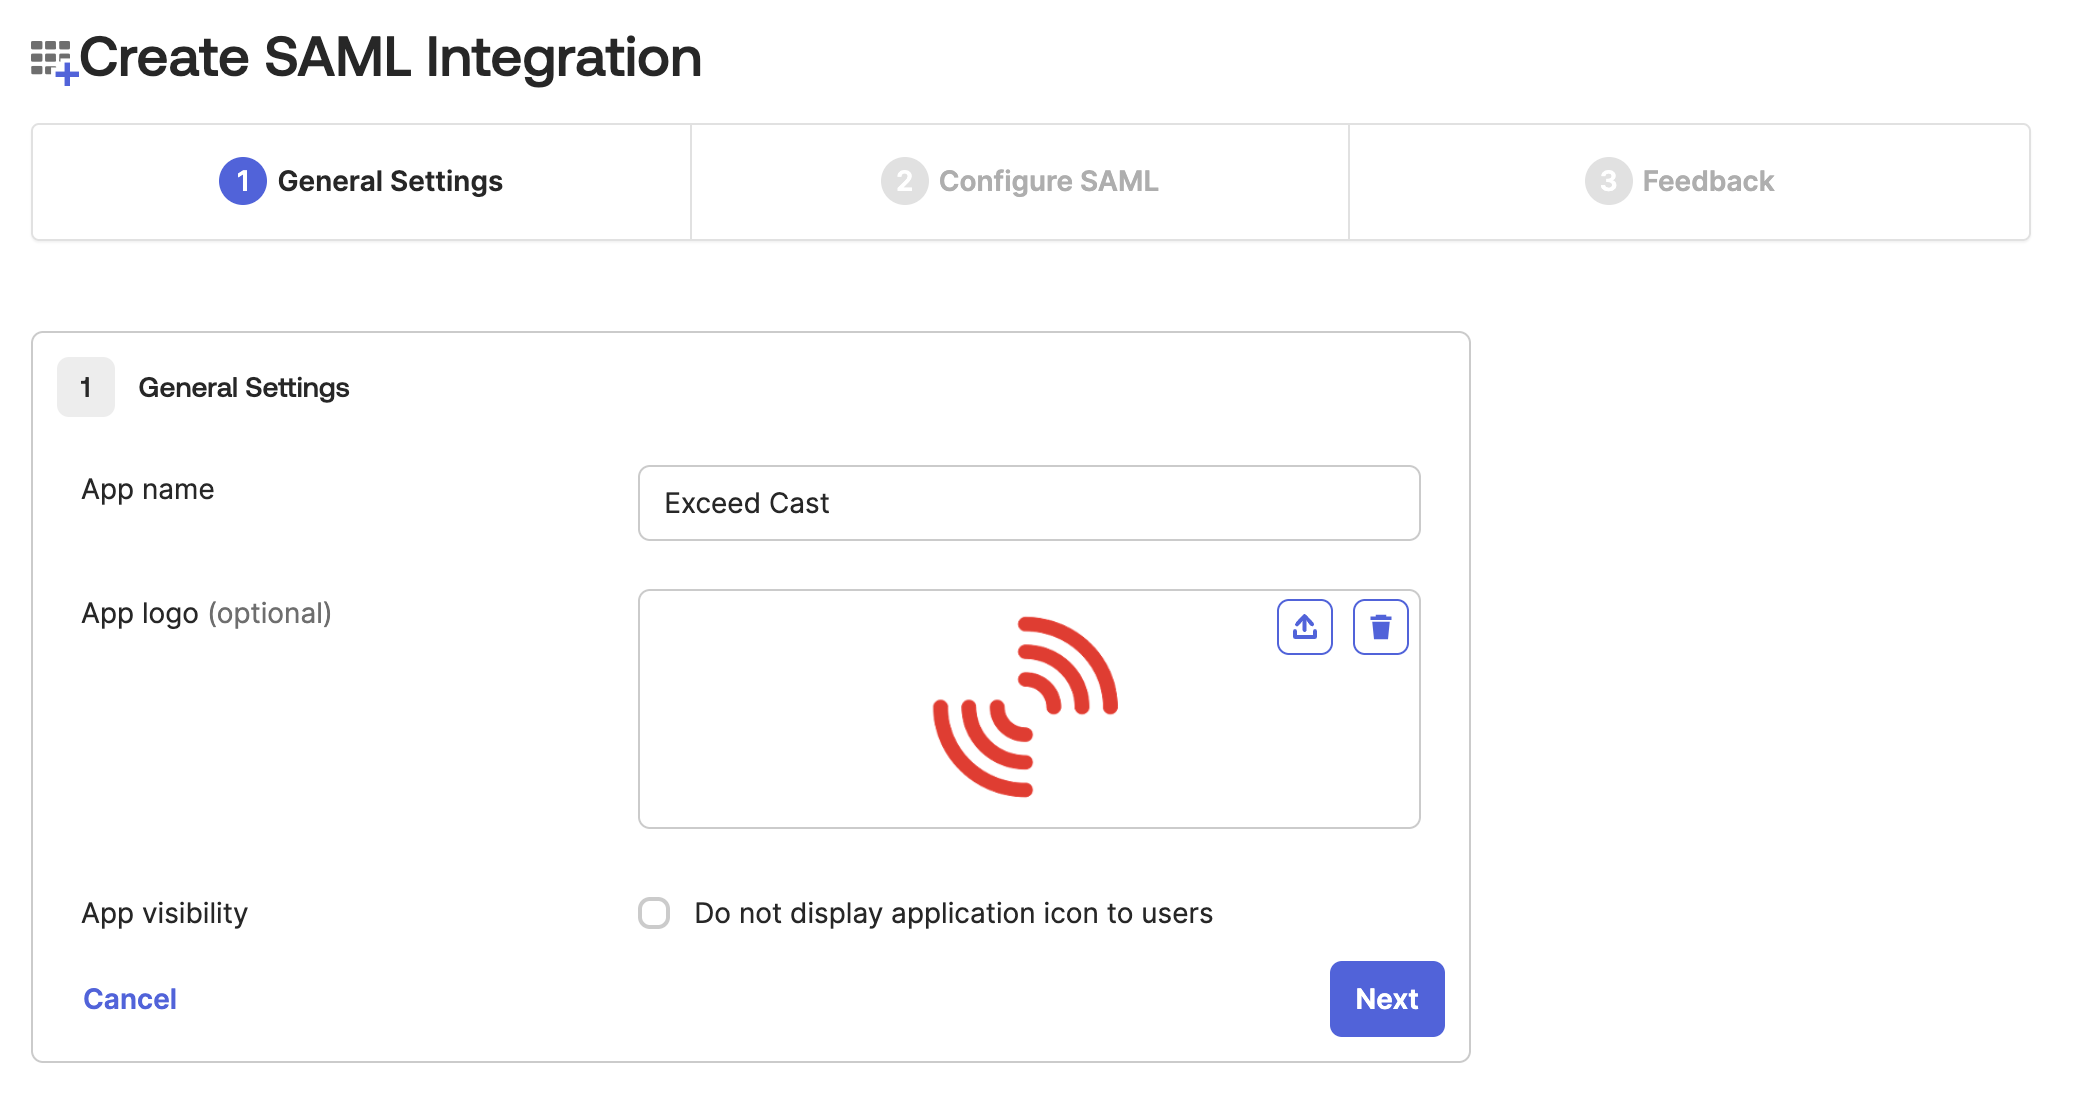
Next, enter a name for the integration. This is shown to end user so we recommend using Exceed Cast or similar. You may also add the Exceed Cast logo if you wish. Click Next.
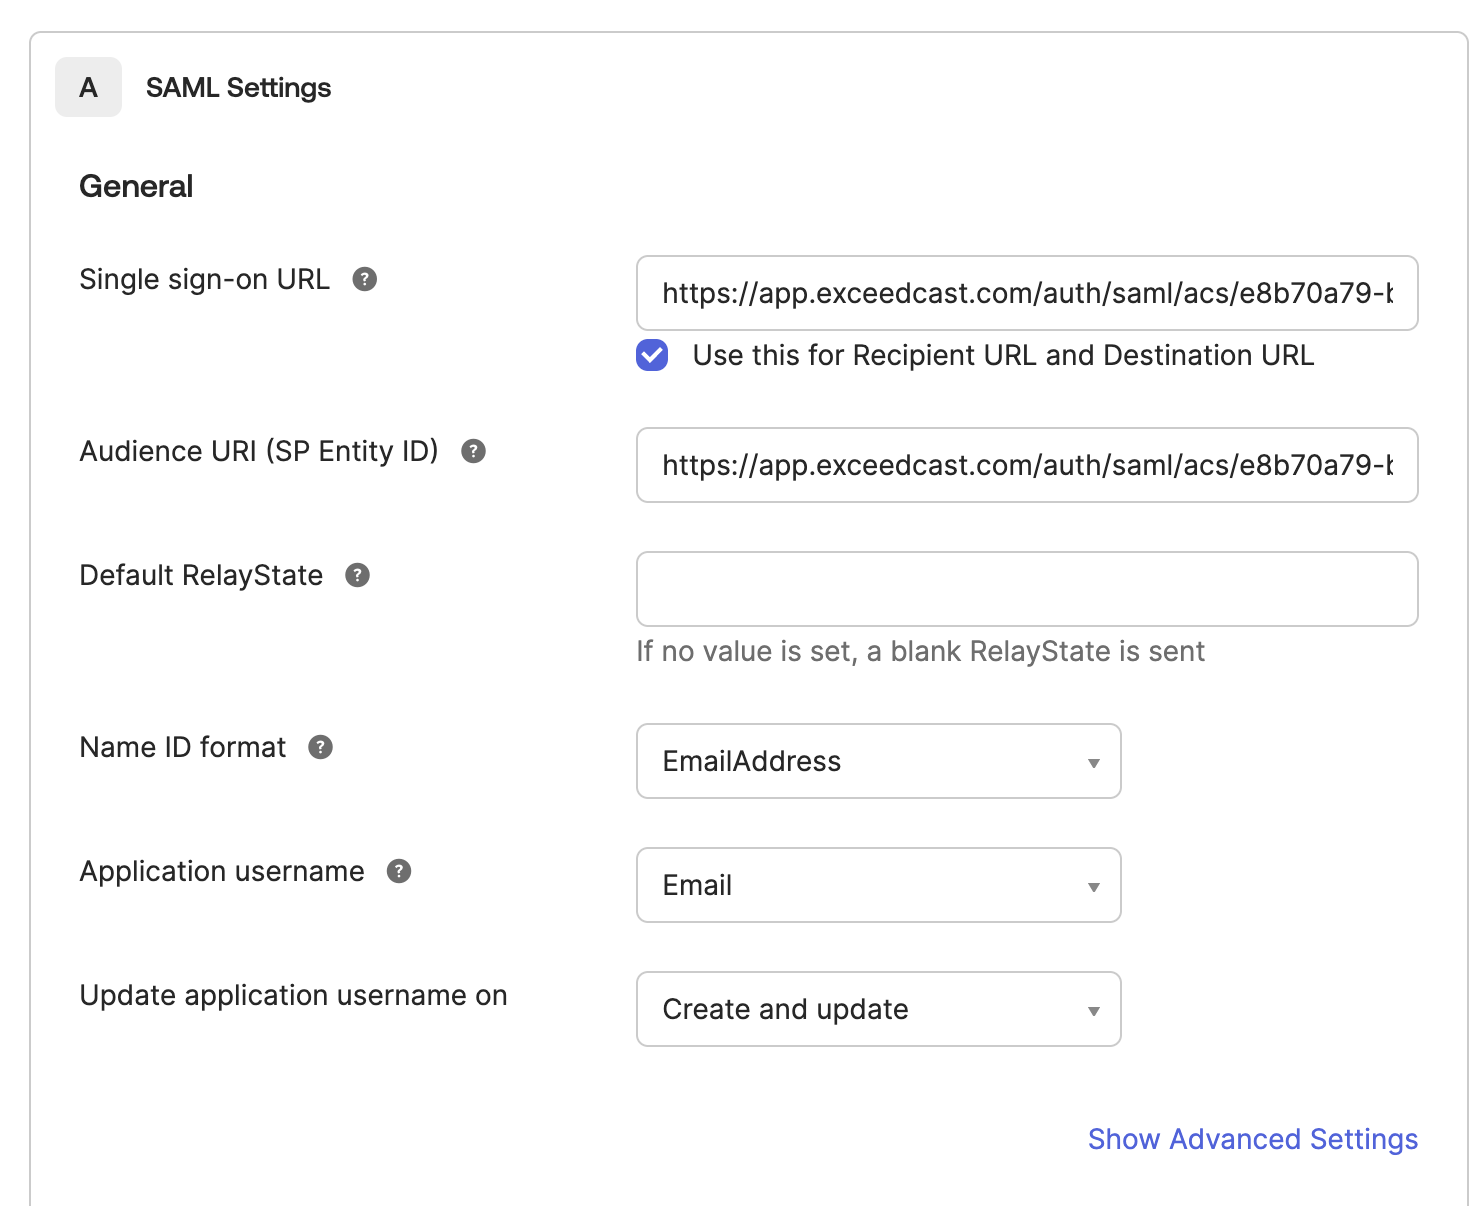
Now, copy the value from Exceed Cast labeled SP SSO URL into the box in Okta labeled Single Sign On URL.
Next, copy the value from Exceed Cast labeled SP Entity ID into the box in Okta labeled Audience URI (SP Entity ID).
Make sure Name ID format is set to EmailAddress.
Make sure Application username is set to Email (or another field if that makes sense for your organization).
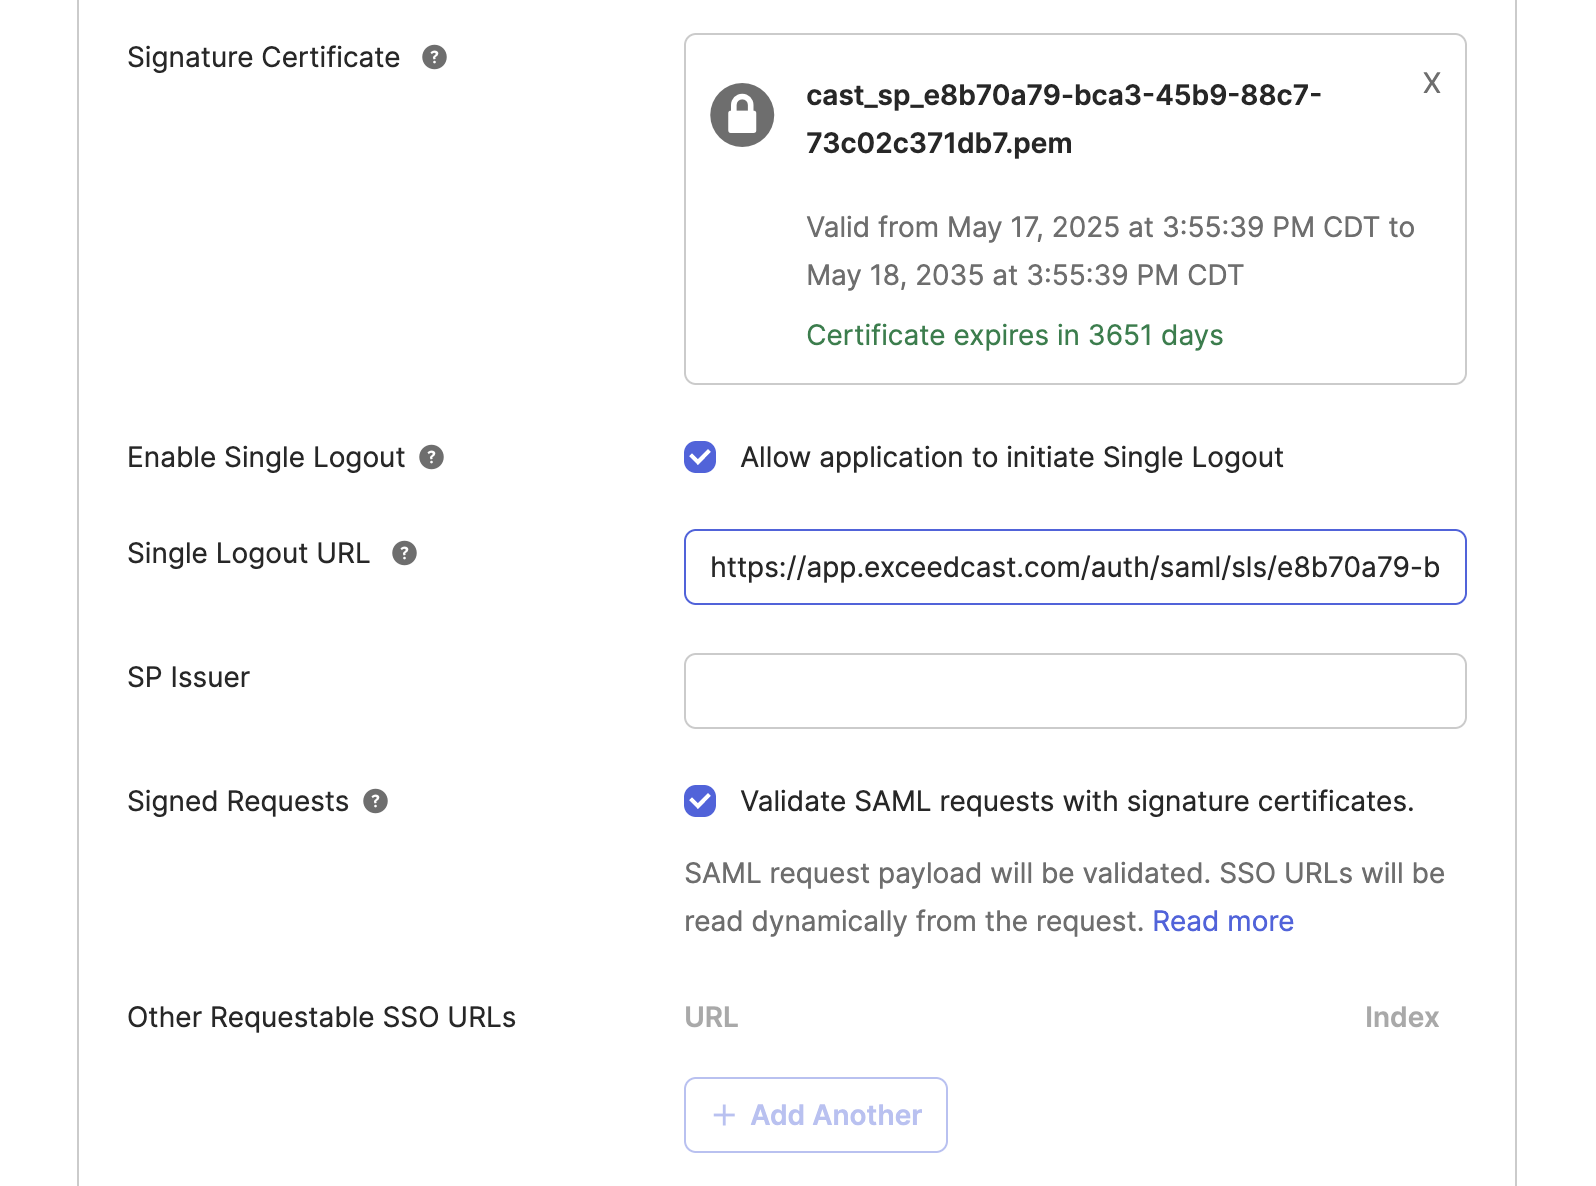
Now, click the link to Show Advanced Settings. Scroll down to Signature Certificate. This will be provided by Exceed Cast. Back on the Exceed Cast setup page, scroll down to SP Certificate and click the file download icon after the certificate text. Return to Okta, and upload the downloaded file to the Signature Certificate section. Check the box labeled Validate SAML requests with signature certificates.
Enable single log out (optional)
Enabling single log out is not required for integration with Okta. If you do not want to enable single log out, continue past this section of the document.
Check the box labeled Allow application to initiate Single Logout. In the Single Logout URL box in Okta, copy and paste the value from Exceed Cast labeled SP SLS URL.
Send user attributes (optional)
Sending user attributes is not required for integration with Okta. If you do not want to configure attributes, continue past the section of the document. If you do not configure attributes, you will not be able to configure user provisioning until you do later.
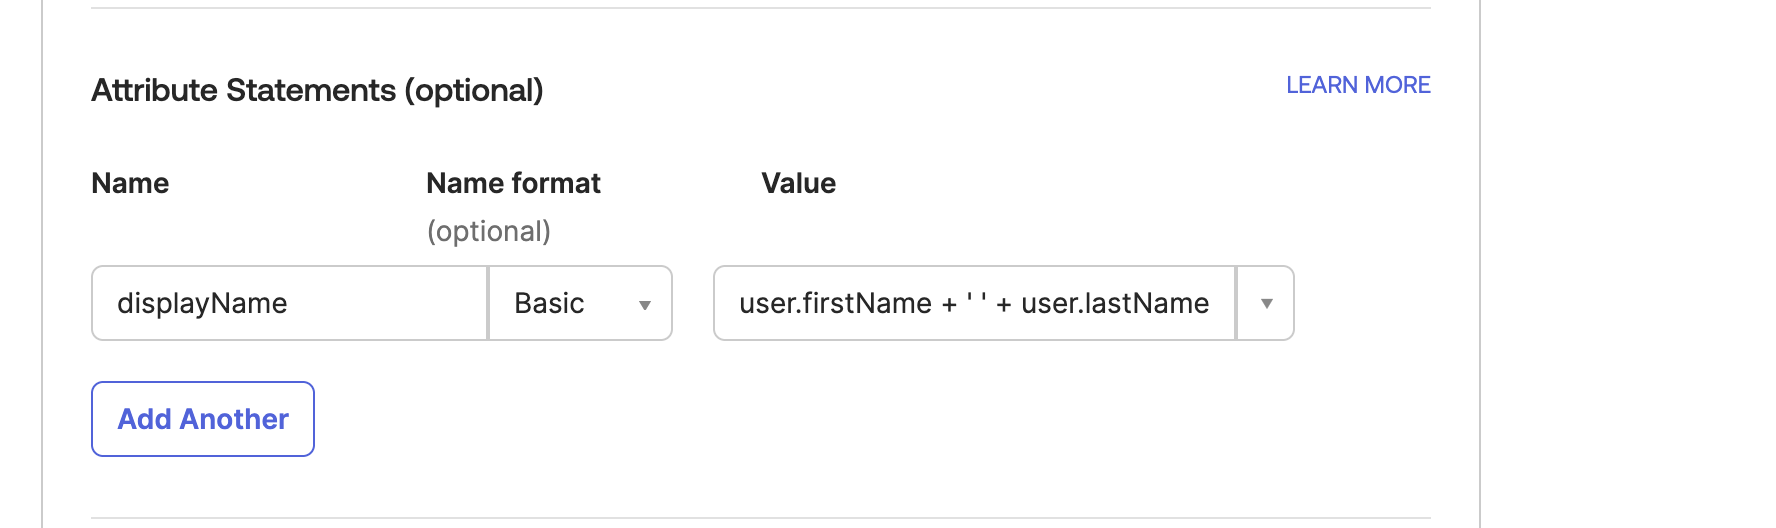
Click Add Another under Attribute Statements (optional) to insert a blank row.
For the attribute name, use displayName. For the attribute name format, use Basic. For the attribute value, use a value that makes sense for your organization. This attribute will update the user's display name in Exceed Cast to the specified value at each sign in.
Complete integration
Finally, click Next then Finish in Okta to complete the Okta setup.
Assign users to the new application as you normally would in Okta.
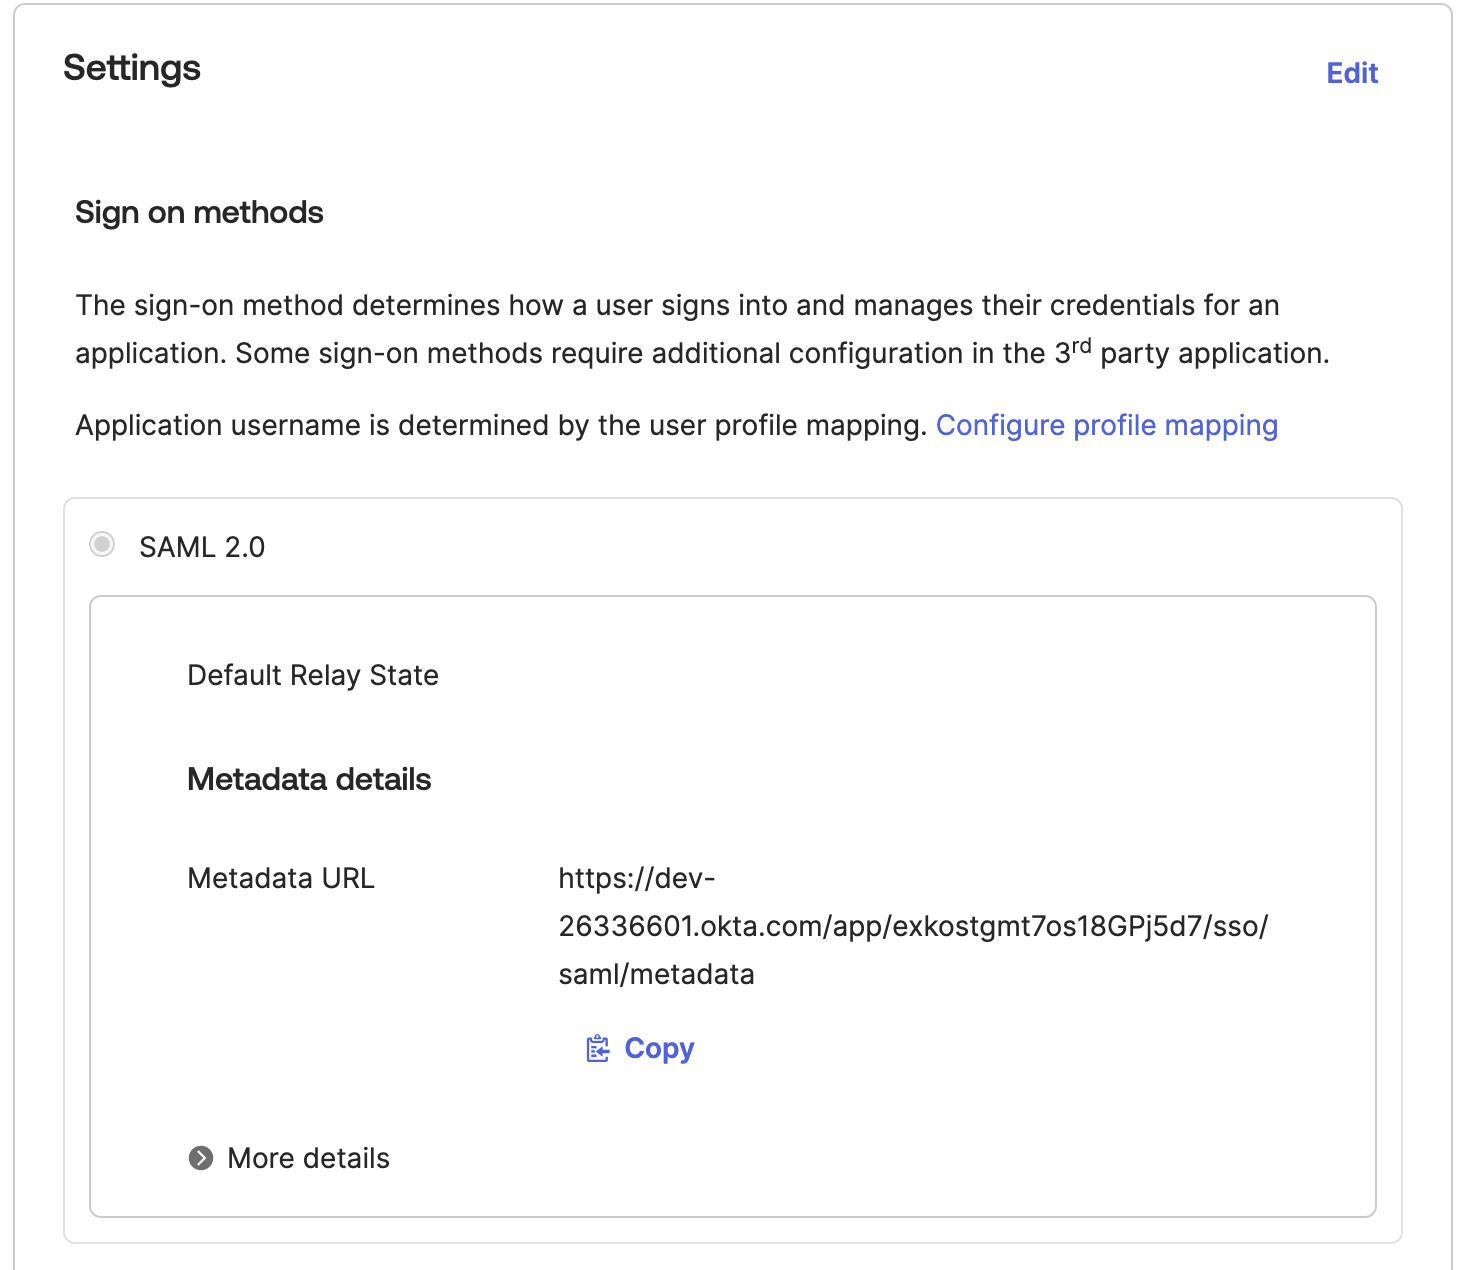
Then, copy the URL on the Okta application page listed under SAML 2.0 Metadata URL.
Go back to the Exceed Cast setup page.
Enter a name for this provider, for example Okta, into the Name field.
Paste the URL from Okta into the IDP Metadata URL field and click Save.
Exceed Cast will then communicate with Okta to retrieve the remaining settings. Integration has completed when you are redirected back to the SSO providers list with a success message.
You can then edit the newly added Okta provider to assign your verified domains. Once your domains are assigned, all non-administrative users will be redirected to sign in via Okta.
You should now test your integration using an Incognito or Private browsing window. Once you provide your email address, click the Sign in using organization SSO button to continue to Okta.
Exceed Cast and Exceed Technologies are not affiliated with Okta, beyond being members of the Okta Developer program. Okta is a trademark of Okta Inc.